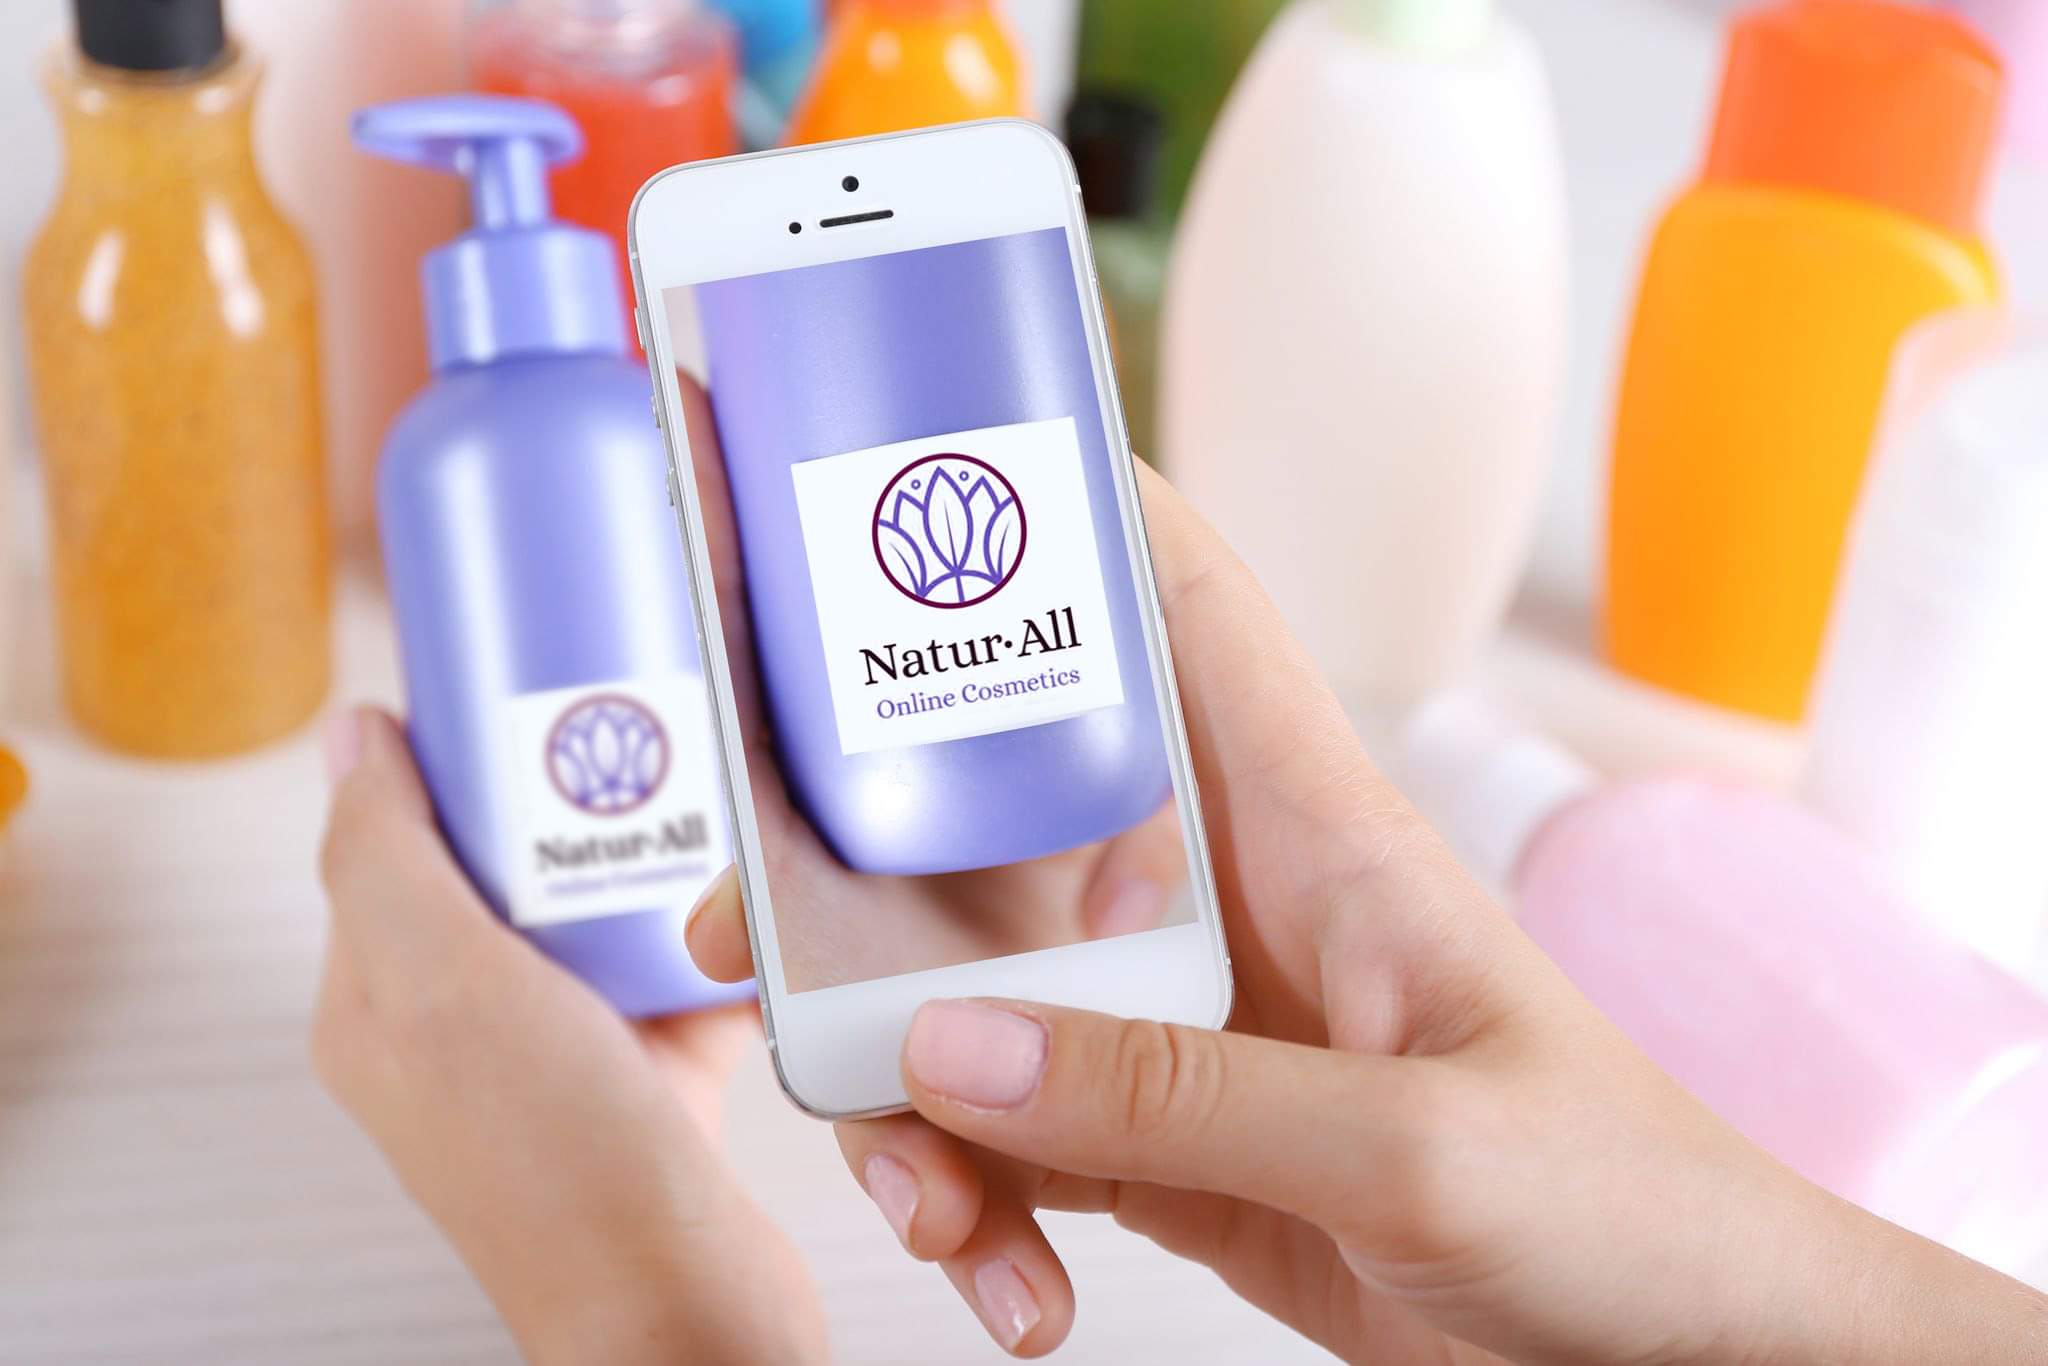
All you need to know about markers in augmented reality.
Creating augmented reality experiences is becoming an increasingly popular form of communication. Various audio-visual effects are overlaid on the objects of the surrounding reality. However, for the technology to work efficiently, the concept of the marker, its quality and the element to which we attach the AR effects are very important. In this article, we will tell you how to create high-quality markers so that the person receiving the AR content will have no problem with playing it.
But before you start, learn what an augmented reality marker is. An AR marker plays a role of anchor, so it can be a static image or an object for example: text in the manual, photo in a leaflet, logo on a label, a distinctive mark or code on a device. It can be any characteristic element that each recipient of a given creation has access to. And to the marker we attach extra digital content.
What tools do you need to make an augmented reality experience?
Until now, creating AR creations required the use of a personal computer. The marker was usually prepared in a computer, and in order to read it, an application with an AR viewer was needed. Therefore, it seemed a complicated and extremely time-consuming process. So this discouraged users from using this technology.
In the ARmixer mobile application, the need for additional hardware or software has been completely eliminated. The only tool you need is your smartphone and ARmixer app. Using the ARmixer app you set the marker, attach whatever content you want and share it with others in just a few seconds. The person to whom you send your creation in the same app can play the AR content. One app and so many possibilities. It is a real game changer on the AR market, which greatly simplifies the process of augmented reality use. From now on, the creation can be prepared at any time and place. Additionally, the ARmixer application is the only one on the market that is both an AR mobile creator and AR viewer. Now, technology of augmented reality is becoming widely available and even easier to use for the average smartphone owner. This opens up enormous opportunities for users and companies.

What could be an AR marker?
Your marker can be practically anything – any distinctive element: logo, photo, text, sign, code (e.g. bar, QR, etc.) or any combination of the listed elements. For example, you can place the marker in your printed materials, books, catalogs, brochures, business cards, leaflets, clothes, everyday objects with all kinds of expressive icons. Thanks to this, the user will find the marker easier and the application will be able to “read” it. There is no limit to the number of markers placed on a given object. However, their excess and too close distribution may cause problems with their detection by the application.
What makes an effective augmented reality marker?
Before you start doing your marker, ensure it is a distinctive element: a picture, a shape or a text on a page. Remember a few rules to avoid problems with detecting it and playing the attached content.
Quality of markers play a vital role:
- the marker should be placed on a flat and smooth surface without any additional, obscuring elements nearby (“no” to irregular surfaces)
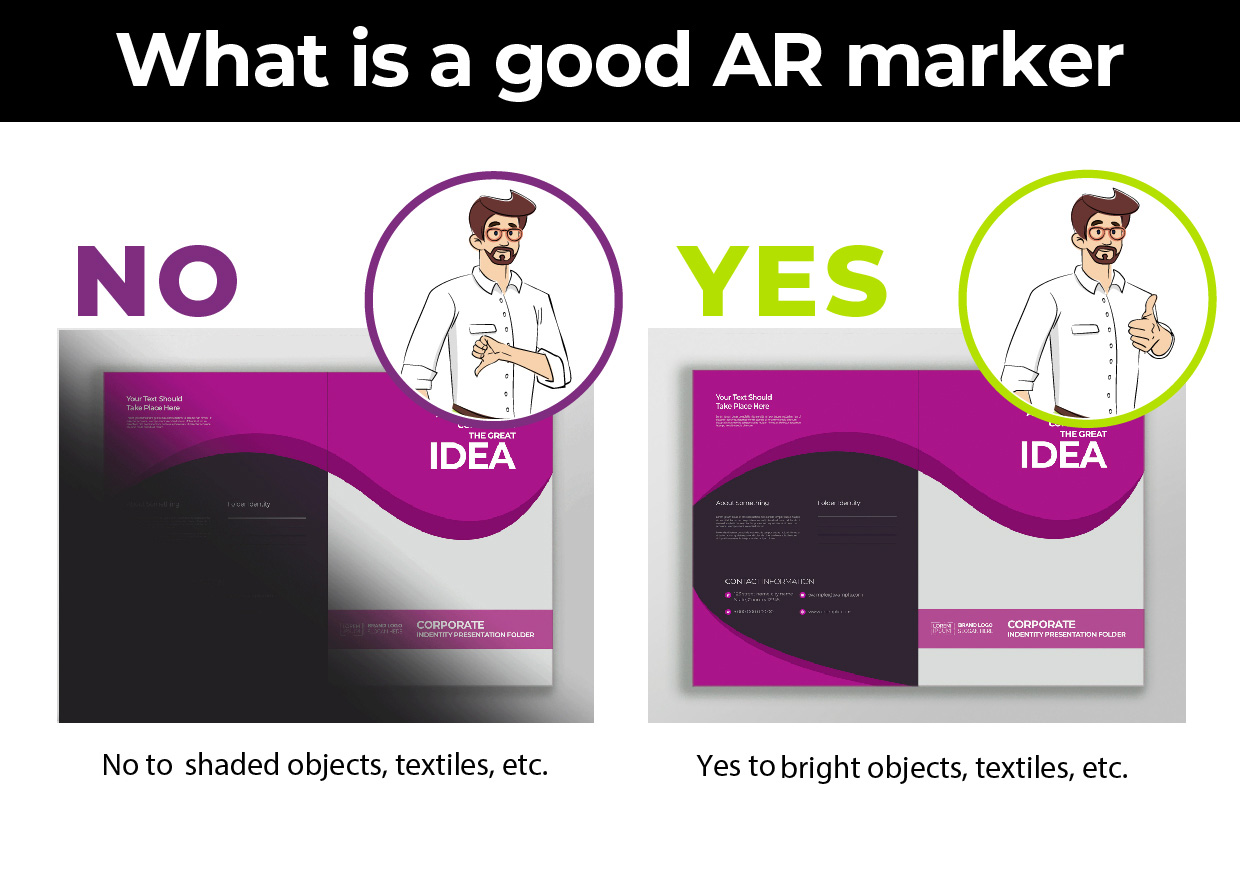
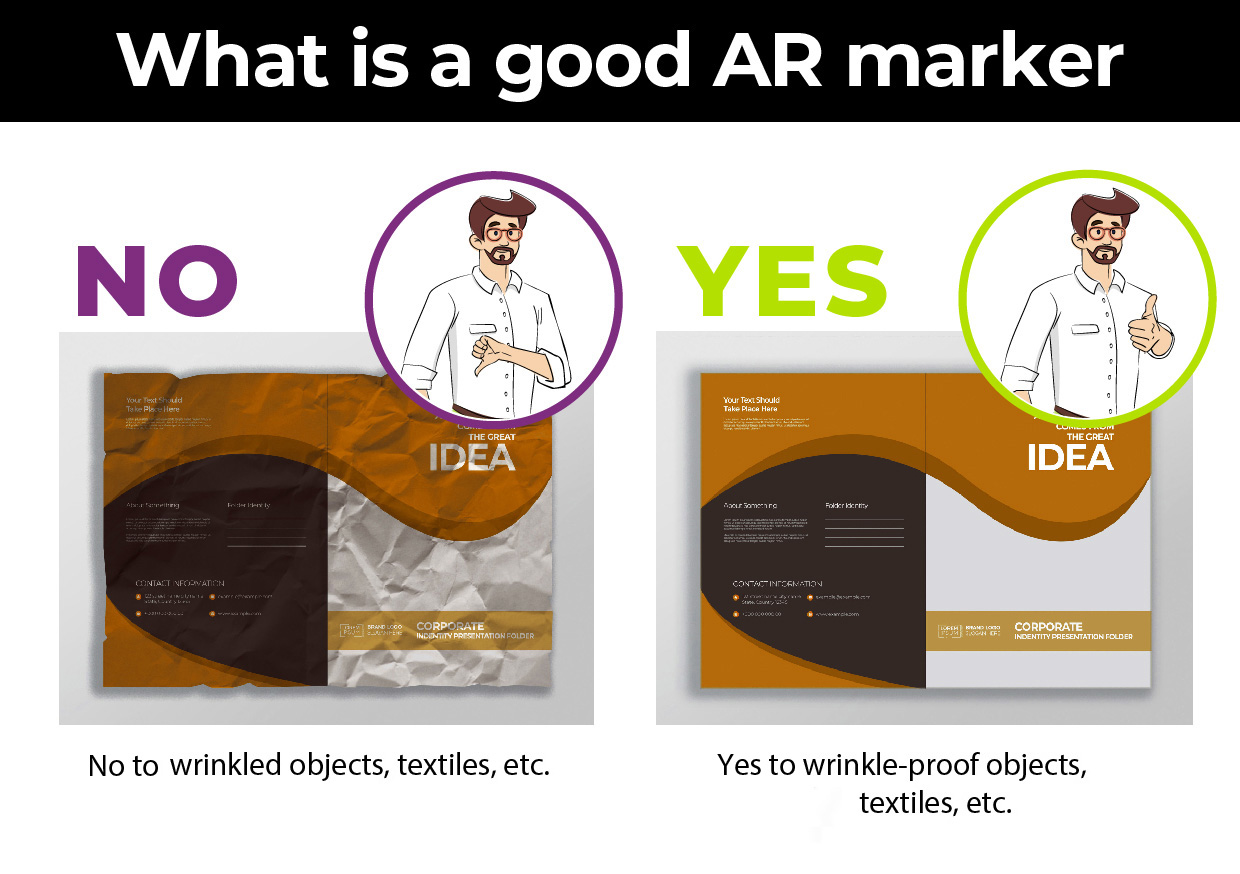
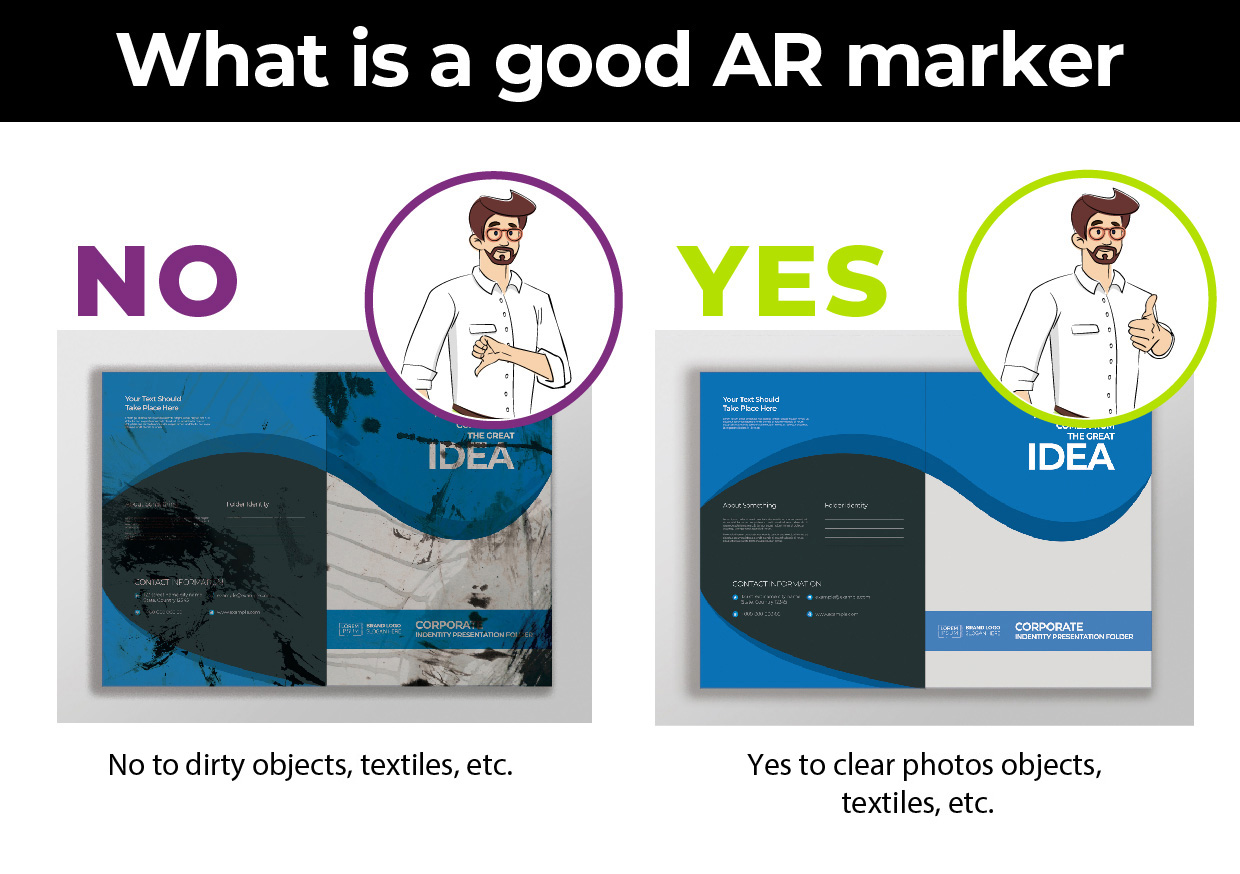
- the photo should be of good quality, not shaded, wrinkled or dirty (“yes” to bright and clear photos, wrinkle-proof objects, textiles, etc.)
- it is important that the marker is a characteristic element and does not blend into the background,
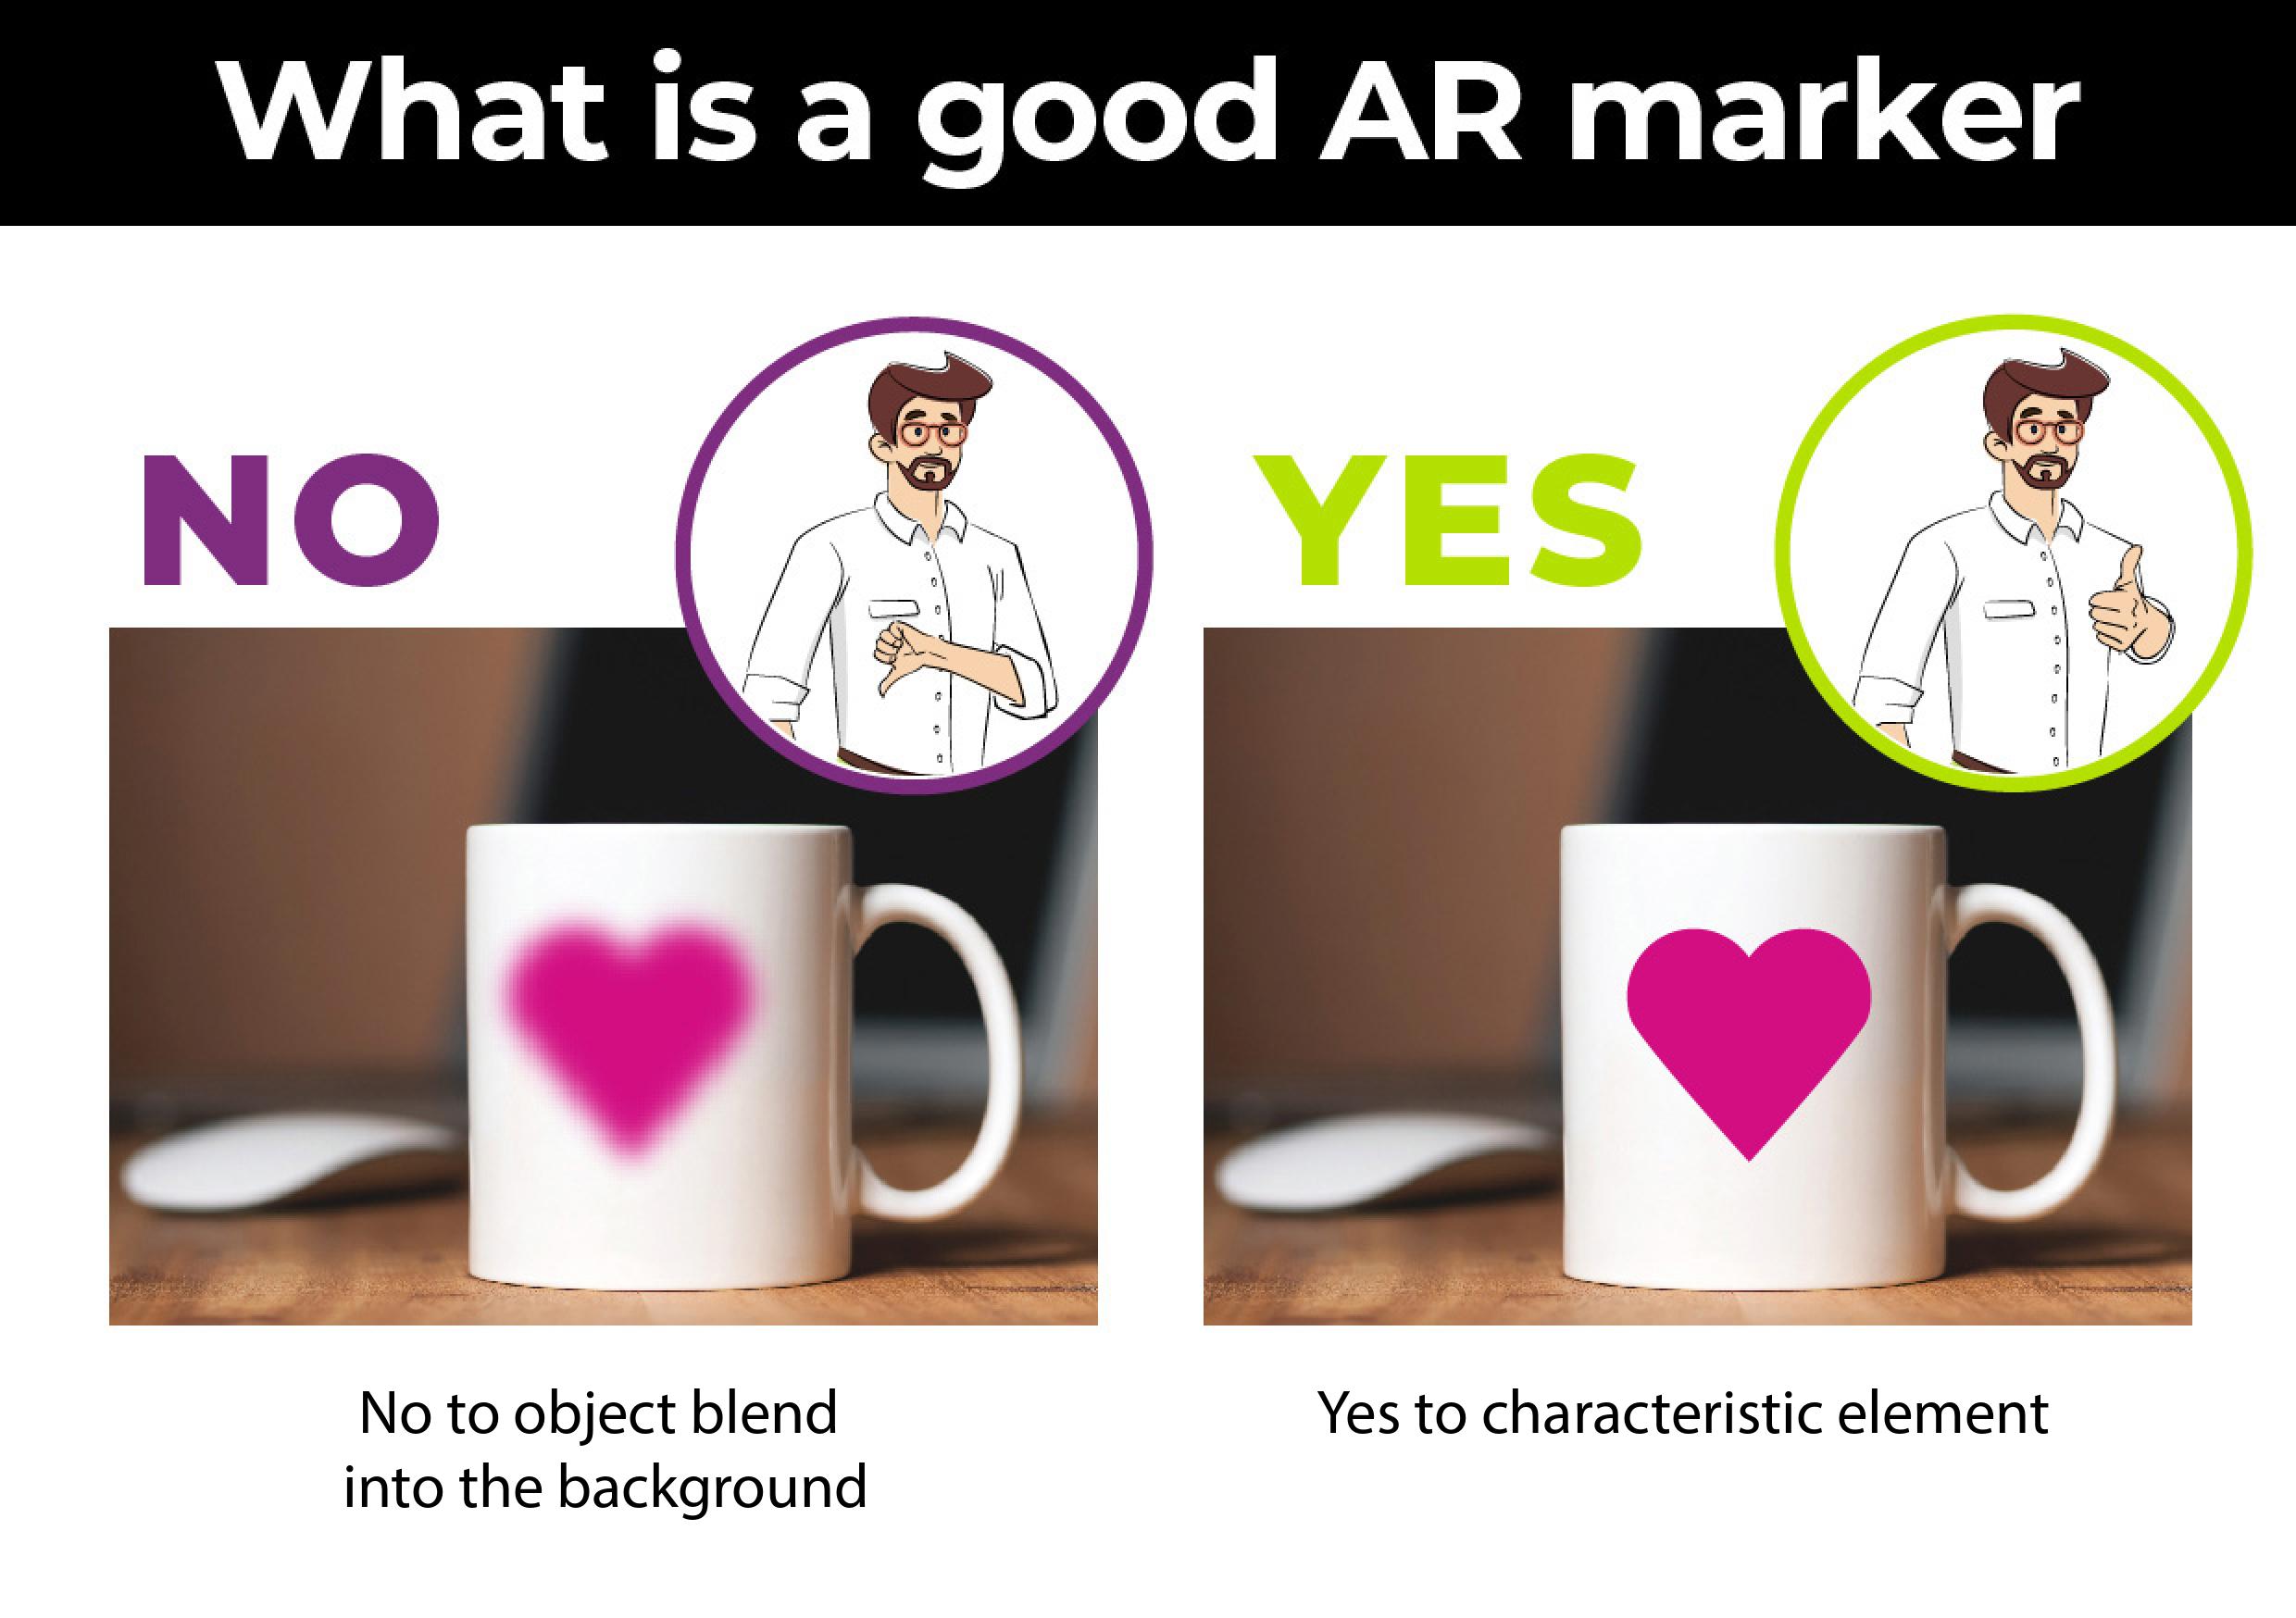
- when selecting a piece of text or a word for your marker, make sure it is highlighted – for example, the letters are bold, written in a different font, or separated from the rest of the text.
What is the best size for augmented reality markers?
The physical size of the marker depends on how you use it – the marker must fit all over the camera image, so the size will depend primarily on the distance of the smartphone camera from it.
When preparing a marker, the image quality is also important, so the recommended size of the marker photo should be greater than 400×400 px. Fortunately, the app automatically scales the image and optimizes it, so you don’t have to worry about it. However, if you add a lower resolution marker photo, it’s more likely that the recipient may have difficulty with playing it.
What content can be attached to an AR marker?
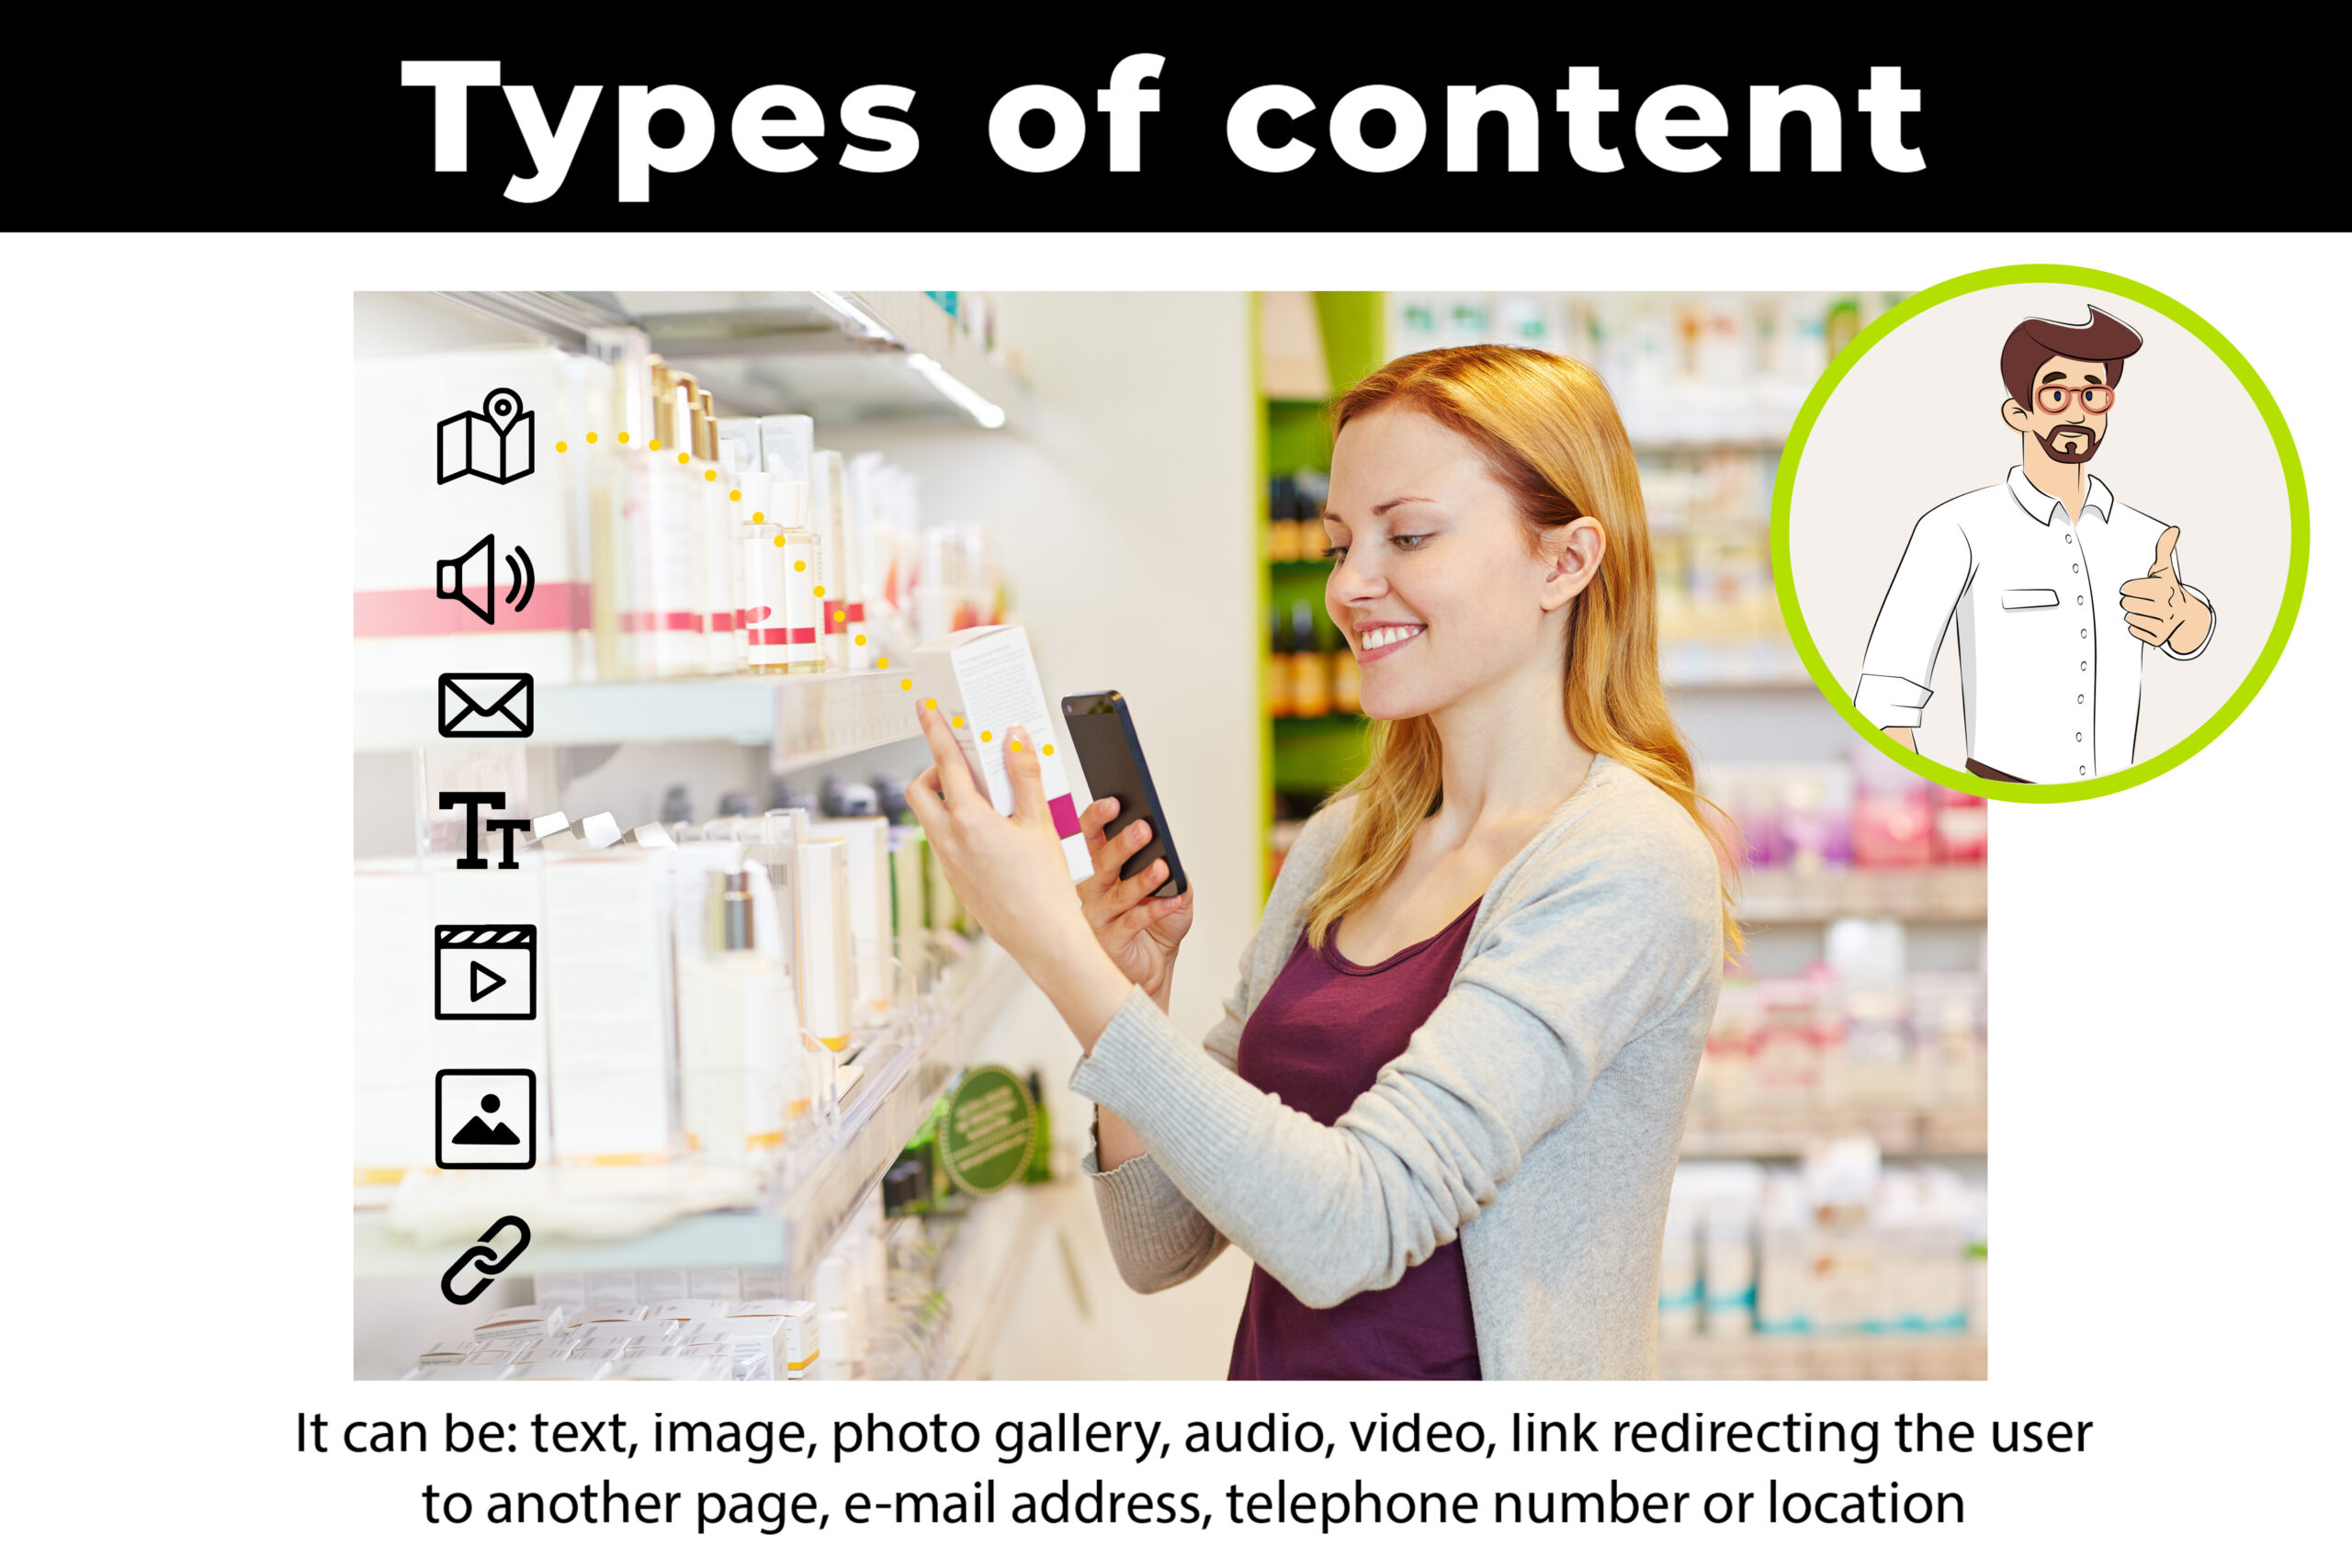
After selecting a marker, you can attach a different content to it. It can be: text, image, photo gallery, audio, video, link redirecting the user to another page, e-mail address, telephone number or location. Or even all these together. How many options you choose to add to one marker depends on your creativity and what you want to show to others.
How do you share AR content?
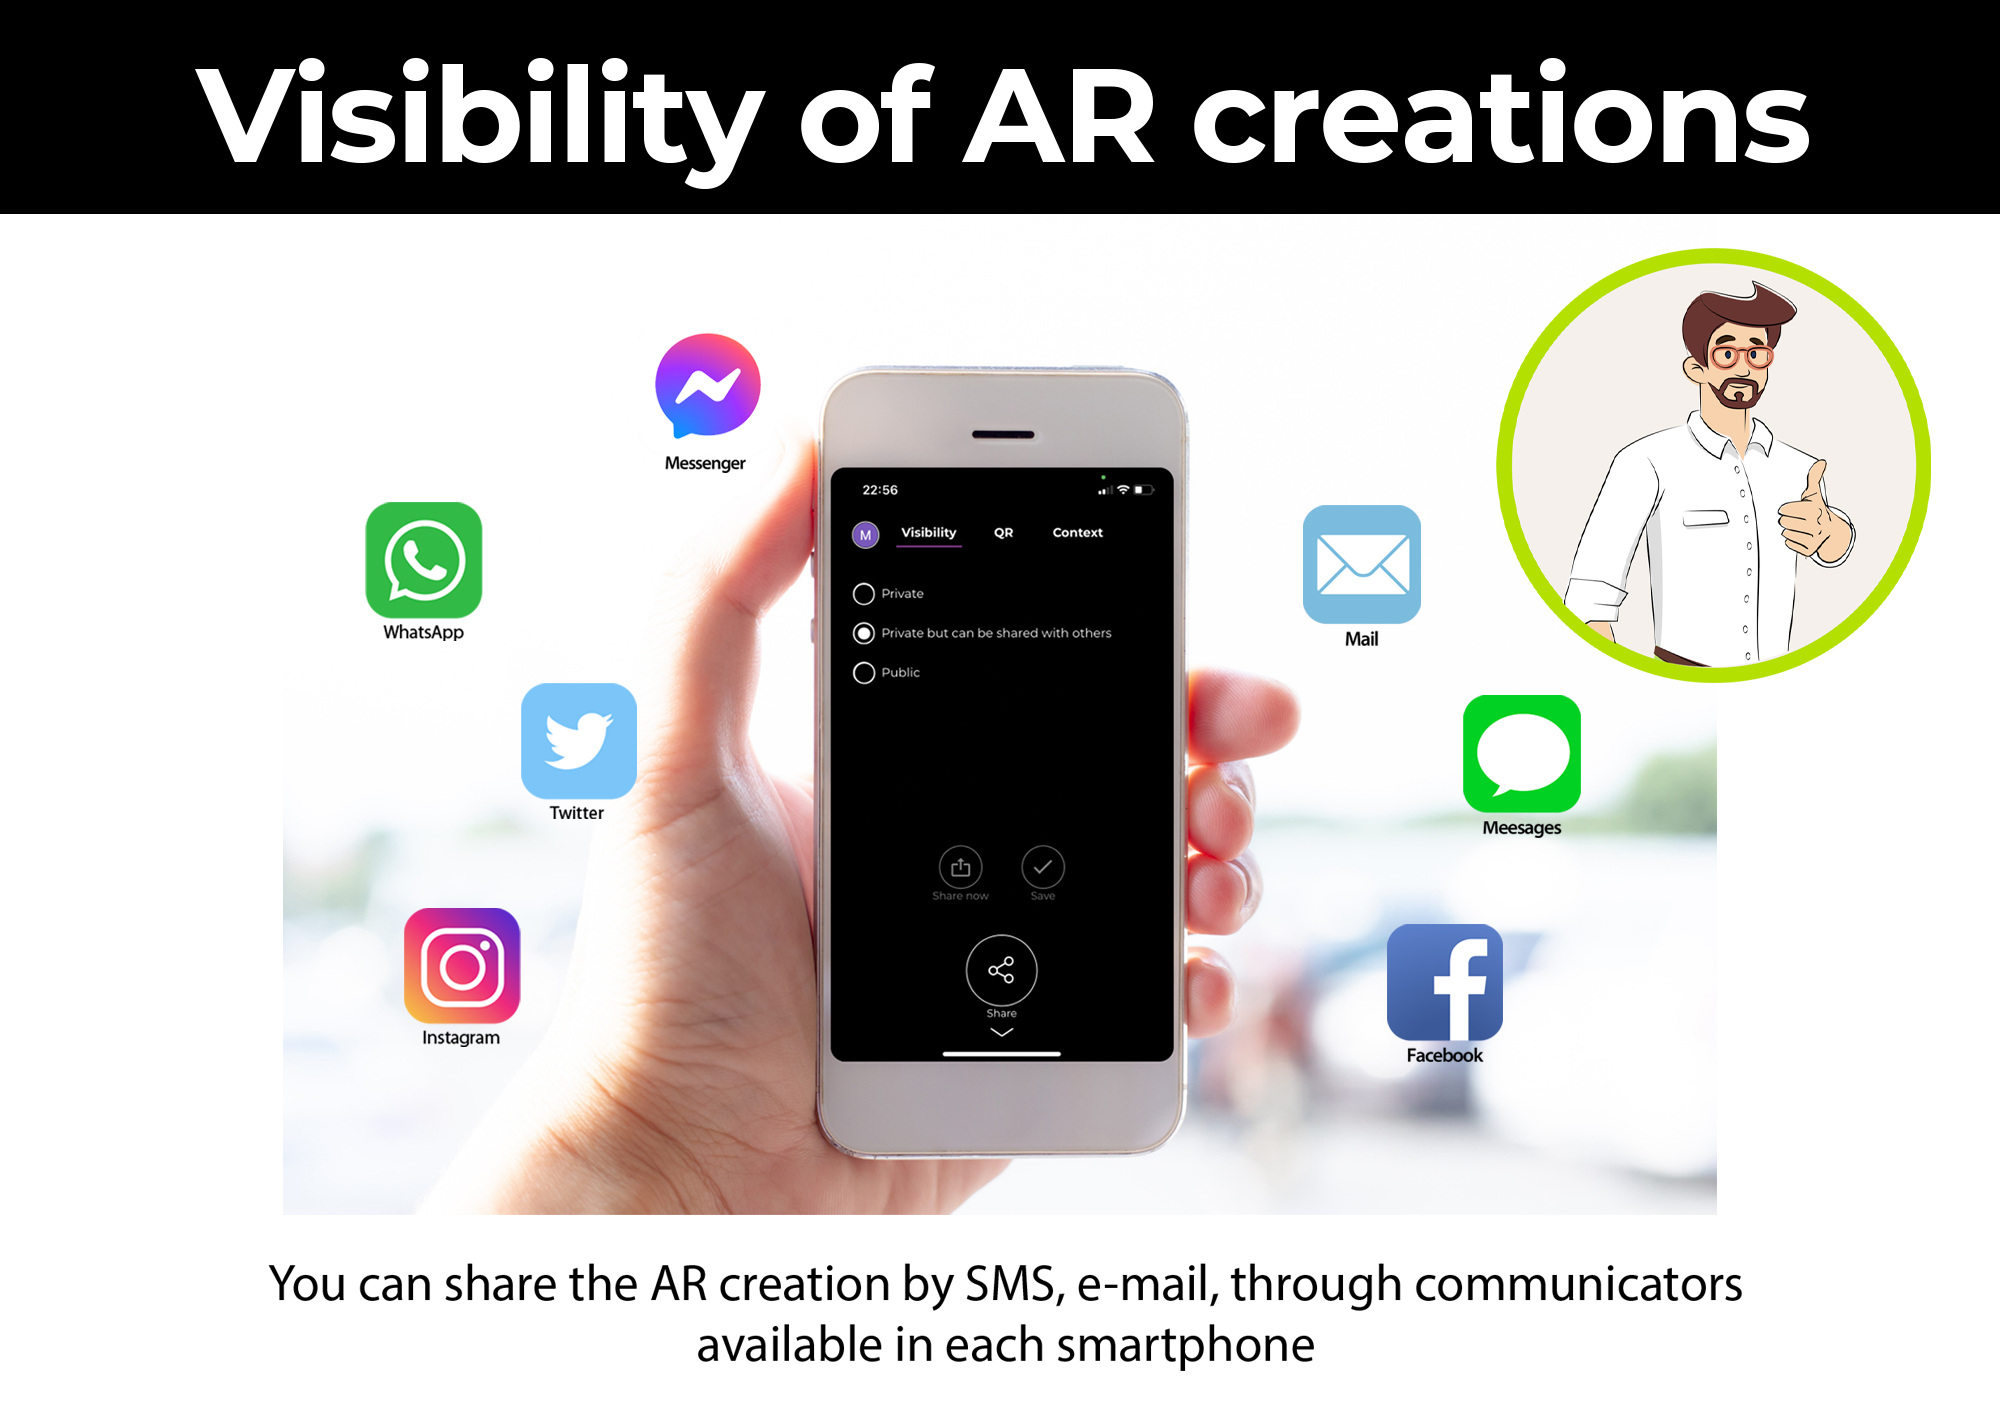
Once you’ve created an AR creation with one or more markers, you can share it with others. Anyone who has the same object/printout or mark to which the creation has been attached, will detect it using the application. You can share your AR creation in two ways. You can save it as “public” or “private but can be shared with others”. A creation marked as public is visible to all ARmixer users, while a private creation can only be shared with selected people based on the generated link. You can share the AR creation by SMS, e-mail, through communicators available in each smartphone or by showing the QR code generated by the application to the other person who has a smartphone.
QRcode – extra option in the app
The ARmixer application has an additional option to create and share a QR code to a chosen creation. This function is useful for business users who want to make creations with multiple markers and attach them to promotional materials like: flyers, catalogs or as stickers on the products offered.
